
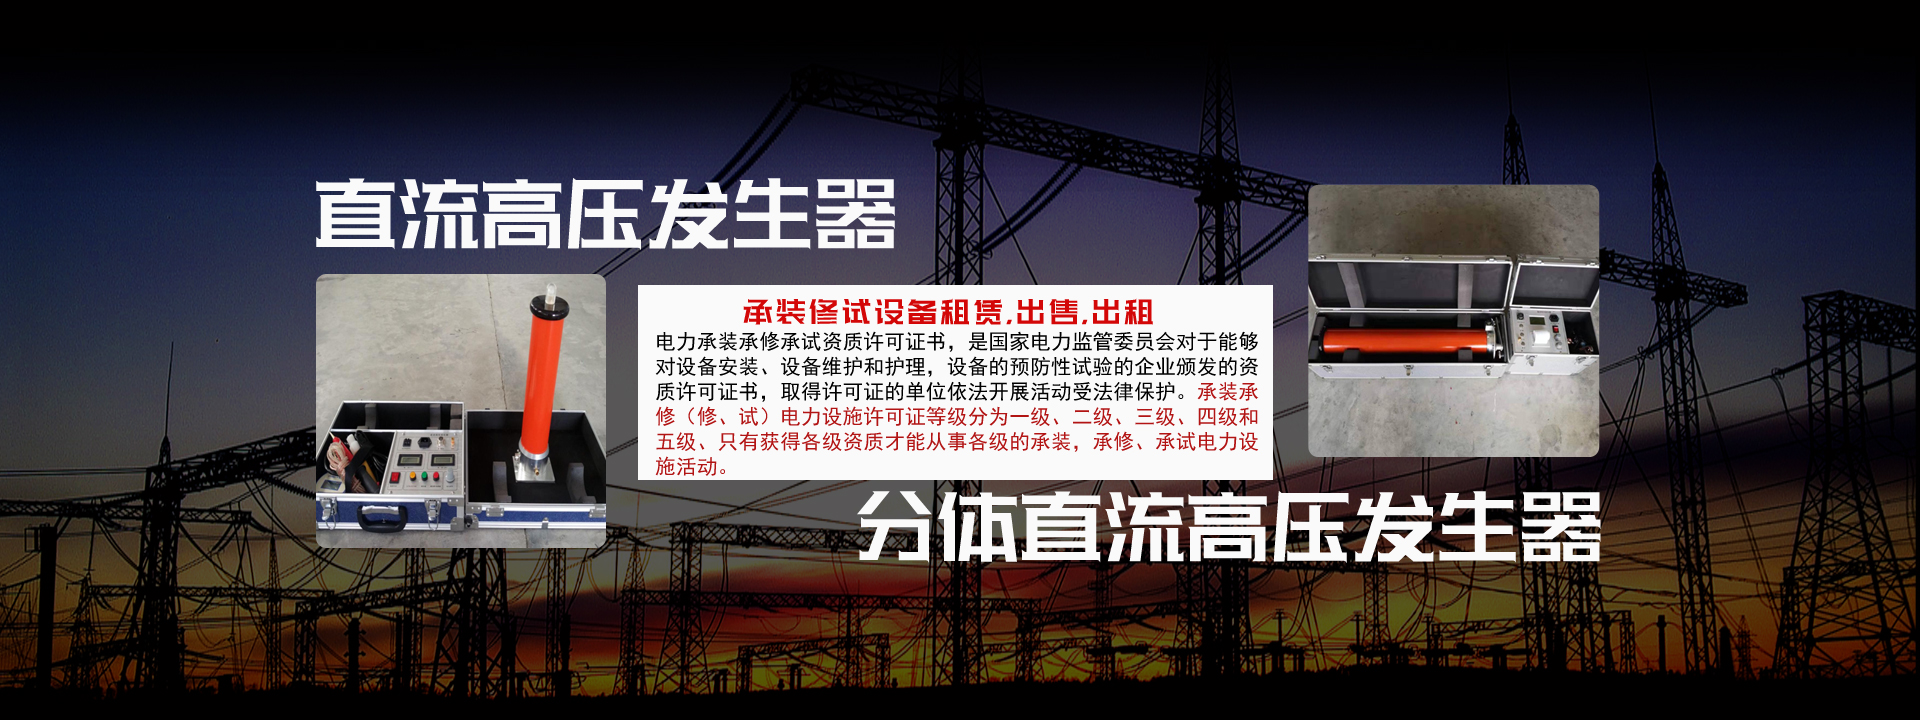
The DC high voltage generator is mainly used for DC high voltage tests and leakage current tests on zinc oxide arresters, power cables, generators, transformers, switches, and other equipment. It features fast testing speed, high accuracy, safety, and reliability. However, many power workers are not very proficient in using this instrument. To use it skillfully, one must first become familiar with the various functional components of the device. This article uses the YTCZG-200kV/2mA DC high voltage generator as an example to briefly introduce the panel functions of the DC high voltage generator.
1. Control box grounding terminal: Connect the control box grounding terminal, the voltage doubling cylinder grounding terminal, and the test object grounding together as a single point, then connect to the grounding grid.
2. Medium frequency and measurement cable quick connection socket: Used for connecting the chassis and the voltage doubling section. To connect, simply press down the cable plug and rotate it clockwise into place; to disconnect, rotate the cable plug counterclockwise.
3. Overvoltage setting thumbwheel switch: Used to set the overvoltage protection value. The unit displayed on the thumbwheel switch is kV, and the set value is 1.1 times the test voltage.
4. Power input socket: Connect the provided power cord to the power input socket. (AC 220V ±10%, the socket has a built-in fuse.)
5. Digital voltmeter: Digitally displays the DC high voltage output voltage.
6. Digital ammeter: Digitally displays the DC high voltage output current.
7. Power switch: Press forward to turn on the power, the red light illuminates. Press backward to turn off.
8. Yellow button: This function is specifically for rapid measurement of 0.75 UDC1mA for zinc oxide arresters. It is active when the green light is on. When the yellow button is pressed, the yellow light turns on, the output high voltage drops to 0.75% of the original value, and this state is maintained. Press the red button to turn off both the red and green lights, cutting off the high voltage and exiting the 0.75x state.
9. Green button: High voltage connection button and high voltage indicator light. When the red light is on, press the green button; the green light turns on and the red light turns off, indicating that the high voltage circuit is connected, and voltage can be increased at this time. This button is only effective when the voltage adjustment potentiometer is at zero. If the green button is pressed and the green light turns on but the red light remains on, and when the button is released the green light turns off and the red light turns on, it indicates that the internal protection circuit has been activated.
10. Red button: When the red light is on, it indicates that the power is connected and the high voltage is disconnected. When the green light is on, pressing the red button turns off the green light and turns on the red light, cutting off the high voltage circuit.
11. Voltage adjustment potentiometer: This potentiometer is a multi-turn potentiometer. Rotate clockwise to increase voltage, counterclockwise to decrease. This potentiometer has electronic zero position protection, so it must be returned to zero before increasing voltage.
Schematic diagram of the voltage doubling cylinder
1. High voltage output terminal (can connect to microammeter and water resistor or current limiting resistor)
2. Corona ball
3. Voltage doubling cylinder body
4. Grounding terminal
5. Medium frequency connection terminal
6. Base
The control box and panel structures of DC high voltage generators produced by different manufacturers are generally similar. Power workers can apply this knowledge to other models. Before use, it is necessary to familiarize yourself with the product's structure and strictly follow the instruction manual to achieve the instrument's testing accuracy.