
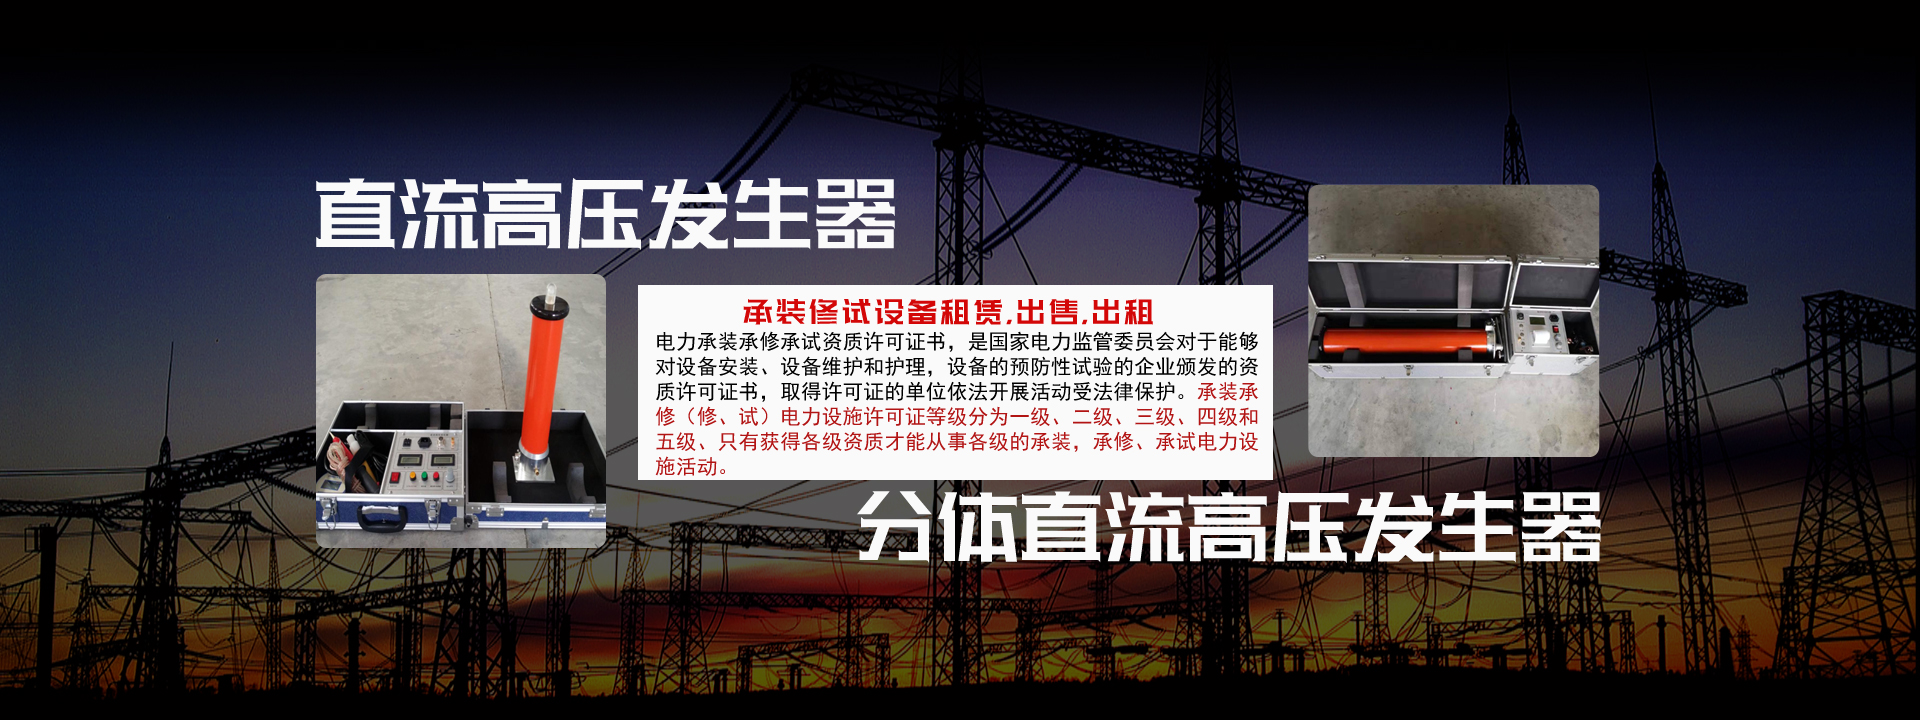
Ultra-Low Frequency High Voltage Generator is a newly launched optical-controlled AC withstand voltage testing device by our company. The device adopts a series scientific method, featuring small size, light weight, and easy transportation. In particular, because of the series method, this device can also serve multiple purposes. It is especially suitable for XLPE, PE, EPA, RL, PLC cables and their accessories at medium voltage levels, 10kV, and 35kV.
The ultra-low frequency high voltage generator replaces the traditional DC testing method. It can be used by major public utilities and industrial sectors for on-site testing of cables and electrical equipment. It is economical, practical, and easy to operate.
The output voltage of this high voltage generator can be continuously adjusted, and it can continuously output sine wave waveforms of 0.1/0.05/0.02Hz, which are independent of capacitive loads, allowing testing of cables up to kilometers in length. The cascade design enables multiple uses; it can be used alone at 30KV or alone at 50KV, making on-site use more flexible and convenient. The two-piece design can be installed on a cable testing vehicle or equipped with a trolley for easier movement.
Proper usage methods of the ultra-low frequency high voltage generator:
1. Preparation
Connect the power cord to a 200V/500Hz power supply, turn on the power, and preheat for 15 minutes.
2. Usage
① Frequency Tuning
First, press the manual button for band selection to roughly adjust the frequency band, then turn the frequency tuning switch 5 to fine-tune the frequency, and observe the output frequency display digital tube until the desired frequency is reached.
② Output Voltage Adjustment
First, according to the usage requirements, press the output voltage RMS or output attenuation level display selection button once to choose to display voltage amplitude or attenuation level.
Then press the output coarse adjustment button for coarse adjustment, and finally turn the output amplitude adjustment potentiometer for fine adjustment, observing the output display digital tube until the desired voltage amplitude or attenuation level is reached.
③ Square Wave Output
Use the logic level output terminal (TTL), adjust the duty cycle potentiometer, and observe the output square wave waveform with an oscilloscope until the desired square wave is achieved.
3. Precautions
① Please read the instruction manual carefully before use;
② Preheat for 15-30 minutes after power-on to enter a stable working state;
③ When outputting small signals, the connecting wires should not be too long, otherwise the amplitude-frequency characteristics of the output signal will be affected;
④ Avoid severe vibration, high temperature, and strong magnetic fields during use.